
{Also, the winner of Le Papier Studio's book Silhouette Art is announced at the end of the post!}

Today's post will include some tips more focused on children's party planning as opposed to children's party design. {Also, photos from the many products I used to offer in my shoppe..some I designed, some I co-designed, others many talented women designed....fun eye candy in this post!}

AND...I enlisted some help from professional party planners, aspiring party planners, bloggers, bakers, designers, decorators and MOMS, to share with you all! I couldn't be more excited!!! {Thus the title of today's post doesn't have my name!}

First, I would like to share a list of FOUR tips that I often recommend for children's parties.
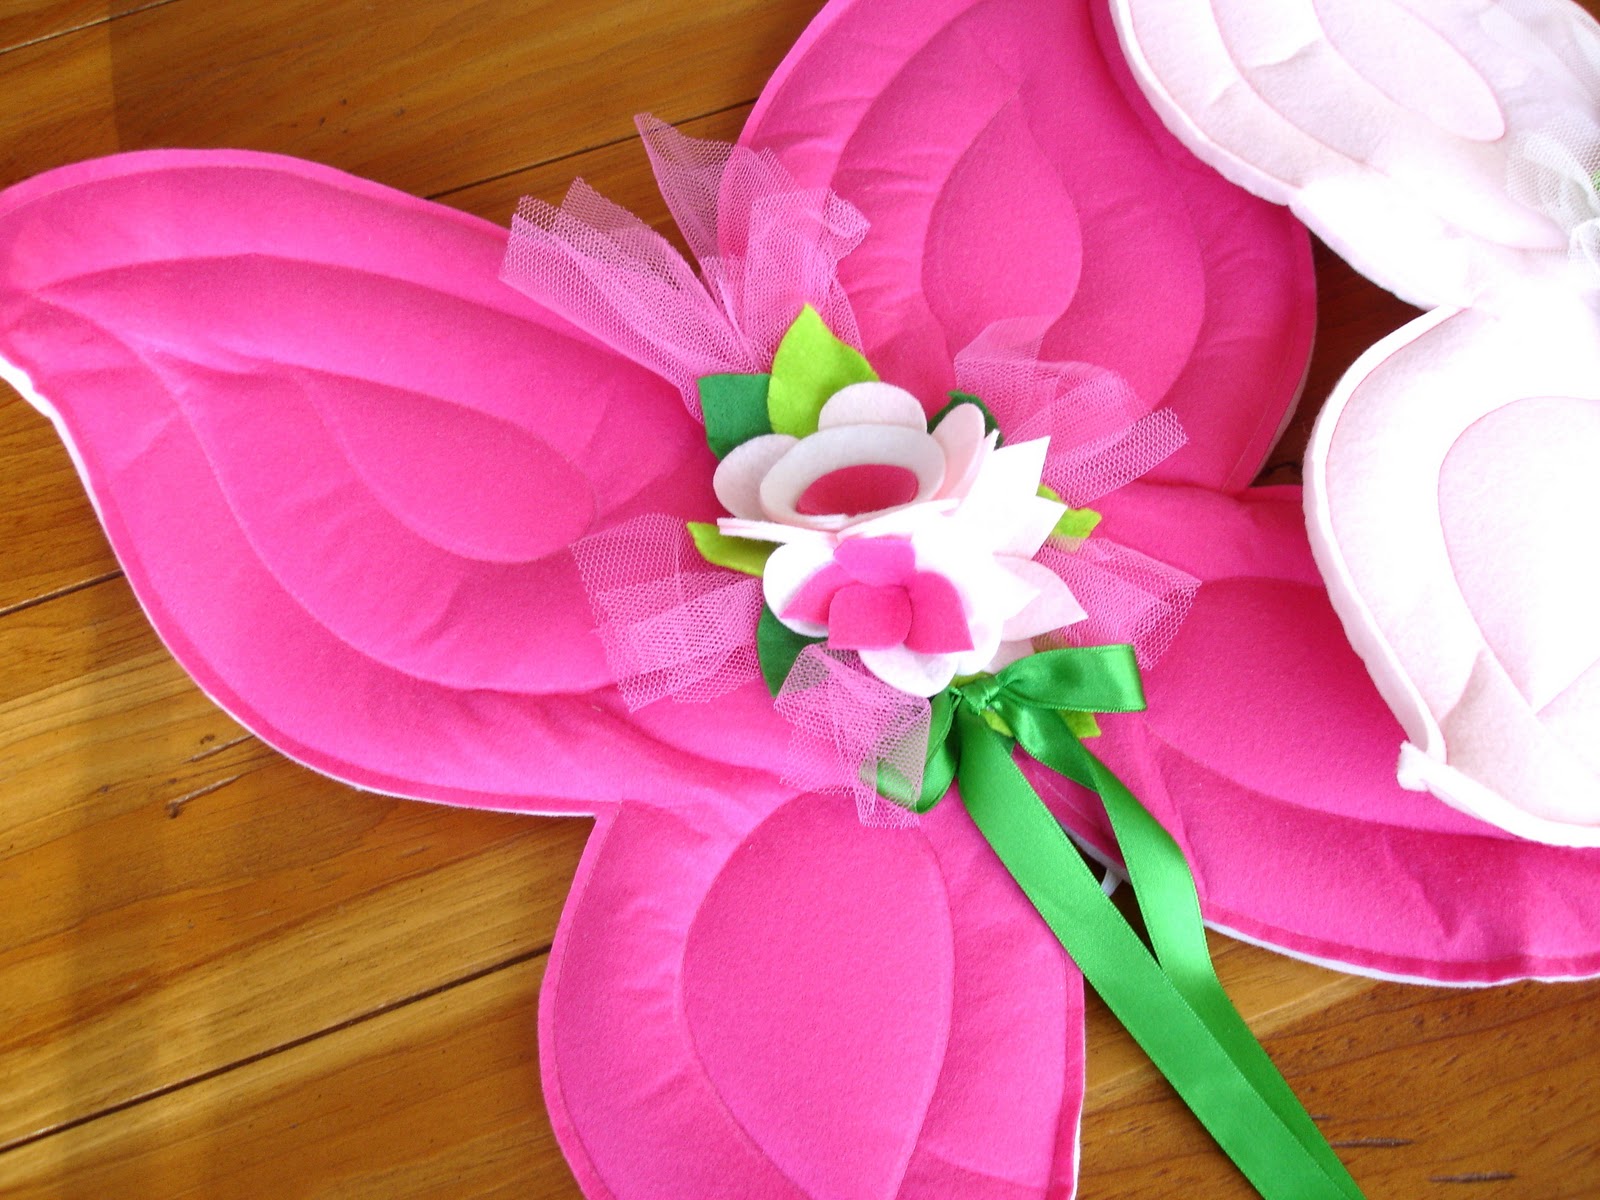
Please note that these may not be appropriate in every situation, but in my experience, as a general rule, they have been great words to go by.

I feel I have learned some of these on my own through trial and error, picked up some from observing others, acquired some through party design experts...and am thrilled to share them with you now with hopes you might find one or two insightful!

Tip One: Keeping your party smaller and more intimate can allow for a much more joyful celebration and less-stressful experience for all.
-I couldn't stress this one enough. I know I have probably shared this with you many times before, but I highly recommend that you keep your guest list small...typically have the same number of guests of the age the child is turning, plus or minus 2 (so if your child is turning 5, have 3-7 guests total, including the birthday child).
-{Note: This does NOT apply for a first birthday party}
-The benefits of this are incredible. Often, it is of tremendous benefit to the birthday child, helping prevent from overstimulation, stress and meltdowns. It can be incredibly overwhelming for a child at a large party.
-Not to mention, the added benefit is for all the guests to not suffer from overstimulation, and a more enjoyable time for the hostess: YOU!
-This doesn't mean that a small intimate party is the right way, the only way...rather, it is a way that has provided enormous benefits for all involved, and I highly recommend it.

Tip Two: Serve birthday cake and a beverage, and have a darling party.
-A huge way to decrease your expenses is not only to shorten your guest list, but to also host your party during a time of day when a meal is not expected.
-It is more often than not that having a special birthday cake {ice cream optional} will be absolutely perfect for the birthday child and all the guests. I highly recommend this!
-Not having to serve a meal or many snacks can decrease your stress significantly {less mess, less tableware to manage, less clean up, more of your budget to put toward decorations or something else that you enjoy investing in more}!
- No, a dessert table is not necessary whatsoever! It can be a wonderful "to have" of course.

Tip Three: Be prepared for unexpected visitors!
- Have someone on hand (a designated family member or baby sitter) to help watch siblings of guests that may arrive unannounced.
-A quiet room separate from the party can have a children's dvd on the television, several age-appropriate books and toys or activities, and the caretaker can watch the younger children and siblings here.
-Providing this extra room and child care can ultimately lighten your load.
-In some cases, parents who choose to stay at the party like to enjoy the party and socialize with other parents.
-In addition, the birthday child and their guests may get distracted or frustrated with the other children around.
-Most party activities I set up are specifically designed for the age group of the birthday child and their guests--a 2 year old trying to participate in something designed for a 6 year old can be incredibly frustrating for the younger child, even dangerous.
-Some young guests at the party may enjoy this separate room as well, if they become overwhelmed and need a place to calm down.
{Note: this isn't always the case, but I have experienced this and found that following this advice can be very helpful for my clients. If a party is designed for families with family entertainment for all ages, this wouldn't necessarily apply}.

Tip Four: A single party favor can have a more lasting-effect than a bag of trinkets...
-Sometimes.
-I have found that a single party favor, often the same cost of adding up many smaller favors, can be greatly appreciated by the guests and their parents.
-I recommend a book {which you can personalize with a custom printed bookplate inside!}, a costume {like a felt cape} or something edible!
-The items listed above are much more likely to be consumed quickly (ie the edible favor) or make their way to the bedroom or toy box, as opposed to getting lost under the seat of the car or the "junk drawer."

--------------
And now I am THRILLED to share with you some AMAZING tips and insight from OTHERS {in no particular order!}...I thoroughly enjoyed reading these again and again, and hope you will grab yourself a cup of tea and take some time to soak in these absolutely wonderful ideas!!!

1. “My best piece of advice for any hostess is to remember to enjoy the day. We can all get caught up in wanting the day to be ‘perfection’ and we forget to have fun ourselves. I personally don’t ever share all the details of an event I’m planning--that way if I run out of time and an element that I really wanted to include doesn’t get done, no one is the wiser. Plus, when I’m relaxed I feel my guests are much more relaxed too.”--Kim, The Celebration Shoppe

2. "When thinking about planning your party there doesn’t always have to be a big showstopper…the devil is in the details. Just by adding small touches in that go along with your theme, you can give your party the big bang. It’s all in the details….now that will be your WOW factor!"--Ebony, Sparkling Events & Design

3. "I have a theory when I want to throw a great party…. treat each guest the same. Throw a party the right way…whether it is a birthday party for 2 year olds, or a dinner party for 40 year olds. ”Right” is whatever you make it, whatever your personal standards are for entertaining. If you use place cards for an adult dinner party, try using them at your next kid’s party….I bet it helps to elevate your party to the next level!"--Kelly, The Party Dress

4. "Using what I already have at home when planning an event is always something I consider before making a purchase of any kind. I've been known to incorporate existing bookshelves, back porch table & chairs and even a sofa table into the parties I've styled. I'm also always pleasantly surprised to find the "perfect" design element I was looking for just by opening a few cupboards and drawers, digging out the stash of fabrics I've collected over the years or by simply doing a quick walk-thru around my home. The "Will I be able to use this in many other capacities" question I pose to myself before every purchase has allowed me to create a timeless collection of items I can reference time and again - and decorate my home beautifully as well."--Jessica, Pen N' Paperflowers

5. "Being a mother of 3, a self taught baker and having thrown many parties, my tip would simply be to stay organized. Bake a few different desserts in the evenings leading up to the party. Everything will last a few days when you put them in sealed containers. There is nothing like your Mom baking your birthday cake & sweets because of the great love that goes into sweets. Go with semi-homemade if you have too. Buy a cake mix to bake but make the icing from scratch, goes the same with the cupcakes! Grab pre-made pie crust and make a yummy fruit tart, even rice krispy treats you can make them more special by drizzling melted chocolate on top of the squares. One last tip, when you are baking a cake mix, use milk when instead of water....makes a world of difference in your cake!"--Stacy, Scrumptious Swirls

6. "Always keep in mind who the party is for, and when making decisions ask yourself if this would make your son or daughter happy."--Jillian, Catch My Party

7. "Looks Are Everything - My trick to party fabulous is making the inexpensive look like a million bucks by giving it a little flare and creativity. It's those little details that make the difference and your guests will definately take note and appreciate. For example, a dollar store boa looks fabulous in a clear bag tied with a pretty ribbon. Pretty scrapbook paper can tie a table together; many big-name party planners do everything from lining platters to wrapping vases in coordinating paper. Even something as simple as renaming your food to match your party theme shows how much thought you put into your event. Bug Juice, anyone?"--Dawn, Not Just A Mommy

8. "As one of the originators of inspiration boards for birthday parties, I always recommend having visual inspiration on hand for your planning process. It is an unspeakable help in narrowing down a theme and clear vision for your event. Even if you don't have the software to create a board yourself, do some research online and save your favorite 10-15 images to reference for colors and special details. It's also great to have a visual reference for your vendors that helps them understand the look you're trying to achieve- don't assume they 'get it' based on a written description alone."--Becca, The Birthday Girl

9. "When planning a party, whatever theme you decide to go with, choose one party favor, decor, or a stand out object {element} that will bring the theme of the party to life! Make people see what the true spirit of the theme was and of course they will see how much fun you had planning it! "--Suzanne, Fanciful Events

10. "My events don’t always go as perfectly as planned, but the pictures, they create the magic. They make me smile. I always create photo books of my children's parties, so when they are older, they can look back and feel the magic too. Hopefully the books will remind them how much I love them."--Shelley, How Does She?

11. "After I have decided on the theme for the party, I then start to think about the colour palette. I like to try different colour combinations, and dare to be a little different! Once you have your colour scheme organised, think about what treats & candy you will have on your dessert table, in the same or similar colours. I always love to add some ribbon, labels, cupcake toppers or mini flags to the sweets as a way to tie all the pieces together."--Suzanna, Mon Tresor

12. "My tip to a target audience of moms would be making the party decorations PART of the party. Whether it's using candy in the centerpices that the children can then take home or even fun toys - we once had a bubble machine shaped like an alligator that served as a centerpiece during lunch and cake and turned into the playtime fun after the food! Look for creative toys to prop up on stands so you can have darling centerpiece decorations and lots of party fun in one!"--Courtney, Pizzazzerie

13. "Pick a theme. The easiest way to decide is to pick something that your child loves (favorite stuffed animal, sport, video game, hobby, book etc.) This will make it so much easier when looking for décor because it will actually be fun for you (and your child) because it means something to them. Use this theme throughout your party (invitations, decorations, food & party favors). Pick two colors that coordinated with your theme and use it towards your inspiration. Look in your child’s toy box first; if you pick a theme they love you are going to have toys already. Recycling them for party decorations is ideal."--Stephanie, Couture Parties

14. "Love is in the details. DIY Printables are the easiest and most cost effective way to pull your dessert table together. And unless you have beautiful handwriting, print the food labels out."--Sharnel, Sharnel Dollar Designs

15. "Come birthdays and holidays, we put a lot of love into making our kids happy, thereby putting a lot of pressure on them to "have the time of their lives". We do it out of love, but it can be overwhelming for the little ones. One way I have found to keep the kids enjoying the time is to try and keep the guest list small {most important when the party is in a small area}. This allows the child to play, wander, and go about their normal routine with a bit more ease. When you have adults and children packed into a room, it is bound to induce stress. I have always heard one child for the child's age {i.e. 7 kids at a 7 year olds party} or else the birthday boy/girl may feel overwhelmed, which isn't always practical, but still a good rule of thumb. If you can't whittle your guest list down, make sure you choose a location wisely."--Kori, Paper & Pigtails

16. "One of my favorite ways to bring a focal point into a party is by incorporating a lovely backdrop to the dessert table, buffet table, or other high traffic area. My go-to source is my 4’ x 3’ painters canvas which is light weight and easy to transport or store flat. I simply wrap the front of the board with a fabric that coordinates with the party, and use duct tape to secure it on the back. From there it’s easy to embellish further using hanging banners, ribbon streamers, frames, or anything else you can create. The great thing is you can change out the fabric easily for each party you host!"--Chris, Celebrations At Home

17. "Time Management is key to ensuring your event runs smoothly and allows you to enjoy it as much as your guests. Whether you have 2 months or 2 weeks to plan a party, keeping track of the time everything takes is vital. When planning your party take into account how much time you will have to set up on the day of the party and how much time you will have in the days leading up to the party to get ready for it and be realistic. Then re-vamp your goals and plans so that the things that are most important to you will fit into your time frame. If you only have 2 hours to get everything set up on the day of the party, DON’T try to assemble 30 goody bags in that 2 hour time frame or try to cover a ceiling with 100 balloons, you may get them done but not everything else on your to-do list. Being conscious of your time from beginning to end and realistically creating a party that you can handle will ensure that your party turns out just like you wanted and you will even have time to be in a picture or two."--Carolyn, CHS Creative Productions

18. "The first impression of your party doesn't happen when your guests arrive -- rather, it's delivered in the mail! The perfect invitation will set the tone for your entire event, and it's your chance to let guests know what to look forward to. Will the party be formal or casual? Will there be a theme? Will the activities be focused around the children, or will adults be included? A great invitation will tell you all of this at a glance -- though of course, the details are extremely important as well. I recommend including a start time and an end time so that guests can plan accordingly, and if there's anything they need to know, don't leave it up to chance. It only takes a few words to help guests feel prepared -- and most important, excited for the big day!"--Heather, Chickabug

19. "Focus on a few thoughtful details of your party. Focusing on a few key areas (think entry way, table decor and themed favors) will ensure that your party is impressive but still manageable. Being an overstressed and overworked hostess is no fun (for anyone!). Be sure to enjoy your party by keeping things simple!"--Tori, Thoughtfully Simple

20. "When planning a party, I always type out an itinerary no matter how big or small the event will be. I usually include a timeline for the week of the party and most importantly, for the day of. I include the time a task needs to be accomplished along with any vendor contact information that is necessary. An example would be to list the time to place the linens on tables and even a reminder to light votive candles 10 minutes before guests arrive."--Christi, P is for Party


22. "Think the devil is in the details? It’s true! Details are the best way to pull your theme together. You really can’t have too many. What kind of details matter too: centerpieces, paper products, invitations, food, and favors are all important and will take your party from average to WOW! Work with your local invitation store/graphic designer to help create your fabulous soiree. Make sure not to use commercial products, handmade and custom products make all the difference. Even though my son is still a baby, he had so much fun at his party, every minute spent planning was SO worth it!"--Marti Mashburn

23. "When theming a party I think it is important to allow the theme to extend subtly though your whole party space and into every aspect of your party. This helps to create a real atmosphere and experience. Think of your space as exactly that - a 3D space rather than just a table to dress. If hanging decorations do so over the table to move the eye gaze up but maybe hang decorations else where in the room too to create a real "party space". Also get get creative with how you present things on your dessert table. There may be another alternative to a glass apothecary jar that suits your theme better?"--Jennifer, Jennifer Birkhead Design

24. "Pastel hues of vintage bottles in the shades of pink, blue, aqua and lemon are perfect to use in clusters as centerpieces. All you need to do is adorn them with lace paper doilies, wrapped them with divine twine and add couple of pretty blossoms! Use these to dress up a dessert table and give the bottles a second life as vintage-inspired vases. This would add a touch of vinty to any dessert table."--Vesna, My Little Jedi

25. "When we create Sweet Stations that need to be kid friendly, we usually incorporate some non-edible or healthier items as well. Mini desserts are always fun because the kids can pick them up with their fingers and they can choose several different mini's instead of one big cupcake. 2-3 mini's per guest is usually plenty. If you are doing more of a candy station, stay away from gumballs, jawbreakers or anything that could be a choking hazard. Always use a kid height table so it is easily accessible and try to stay away from glass vessels. Cover styrofoam blocks with fabric for an easy display vessel as well. Try to think outside the box when it comes to the edible items. We've put veggie sticks in custom french fry containers and the kids went nuts. It's amazing the kinds of fruits and nuts (healthy treats) they'll eat if it's placed in a cool container."--Marie, Sweets Indeed

26. "I always recommend that the birthday girl or boy have something special to wear on the big day. Plan the outfit in advance and your child will be eager and excited to wear it when the day arrives! If you have ideas on what you would like your child to wear, always give them choices and let the decision be his/hers. Depending on theme, a pettiskirt, tutu or a special dress are great choices for girly girls. Pair a pettiskirt or tutu with a custom shirt from Etsy that matches the theme. We just did an ice cream party for Kate McRae, a very special little girl battling cancer, and we gave her a pink & brown pettiskirt from Layla Grayce and coordinating ice cream cone shirt from Chic Baby Rose to wear. She LOVED the outfit and woke up that morning eager to put it on! For boys, a coordinating t-shirt or outfit is appropriate. I was thrilled to find crab swim trunks from Gymboree for my son's crab themed pool party. It's always fun to have the child's clothing tie in with the theme, but if he/she isn't up for it, don't force it! You want it to be a happy day for everyone! {Some Favorite Resources: Finley & Oliver, Modern Frills, Paperlili, Chic Baby Rose, Layla Grayce for pettis, Tiny Belles for tutus, Charming Necessities for dresses}"--Kim, The TomKat Studio
A TREMENDOUS THANK YOU to each and every one of you who contributed your fabulous advice for today's post!!!!! Honored and thrilled to have you here today!!!
Also, a wonderful warm thank you to everyone who has so kindly and graciously read this series, commented, shared it with others--truly blessed, thank you.
NOW....the winner of the Le Papier Studio's book Silhouette Art....Sarah Roche!!!!!!!!!! Sarah, please e-mail landers.kate@gmail.com immediately to accept your autographed copy of this fabulous book!!!!!
TOMORROW: The Vintage-inspired children's party design contest winners photo shoot!!!!!!!!!!!!!!!!!!!








 Posts
Posts


